
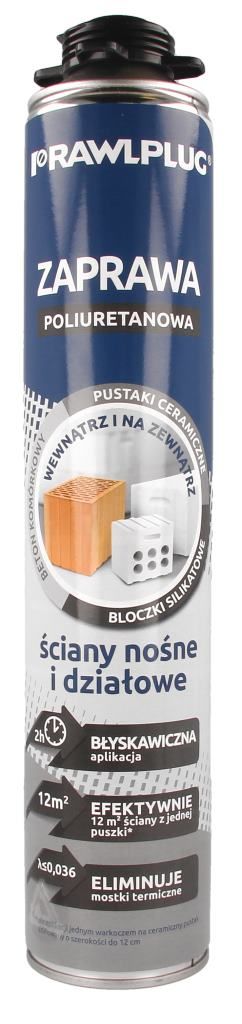
Polyurethane masonry mortar, FR label - metal can - 750 ml
Universal
Outlet
R-RPP-MORTAR-FR
5906675445441
Define product parameters:
Packaging and quantity
Contact with us and check out our terms of cooperation
R-RPP-MORTAR-FR
5906675445441
Define product parameters:
Contact with us and check out our terms of cooperation
Contact with us and check out our terms of cooperation
Polyurethane masonry mortar for thin joints

thin_bed_mortar_instru
Approved surfaces
Packaging and quantity | Index | EAN | Catalog price for pc. net |
|---|
The first layer of wall elements must be laid on a standard cement-lime mortar.
Wear protective gloves. The working surface should be thoroughly cleaned of substances that reduce mortar adhesion and moistened with water, for example, using a wide brush or sprayer.
The optimum temperature of the can is +20°C.
Application temperature from -5°C to +30°C.
Shake the can vigorously (approx. 30 seconds) to thoroughly mix the ingredients.
Screw the gun to the can. The working position during assembly should be the "upside down" position of the can.
Apply the masonry mortar in one bead along the centre of masonry blocks up to 12 cm wide, or in two parallel beads for masonry blocks wider than 12 cm. Apply the mortar to the long side of the masonry block, keeping a distance of 4–6 cm from each edge of the block, forming a bead approximately 4–6 cm wide. The time allowed for laying the course of masonry blocks is 2 minutes after application of the mortar.
After placing the wall element, firmly press it down and level the position of the blocks. The permissible correction is no more than 0.5 cm and can be made within 3 minutes of applying the mortar. Make adjustments by moving the blocks without tearing them off, and use a rubber hammer to stabilize them. Avoid tearing off the laid layer of wall elements. If a wall element becomes detached, reapply the mortar. To eliminate thermal bridges, apply mortar on the side walls of the wall element, as well as in the corners and joints with partition walls. If there is a pause longer than five minutes, clean the applicator nozzle with a foam cleaner. When removing the gun from the can, clean both the nozzle and the gun using a cleaner.