How to prepare a hole for chemical anchoring?
Preparing a hole in the right way is one of the most important steps preceding chemical anchoring.
Before applying resin, you need to pay attention to both the size and thorough cleaning of the hole. So read this guide to find out how to drill a hole matching a bonded anchor to make sure that your fixing will be durable and the resin will perform at the peak of its load-bearing capacity.
Chemical anchoring steps
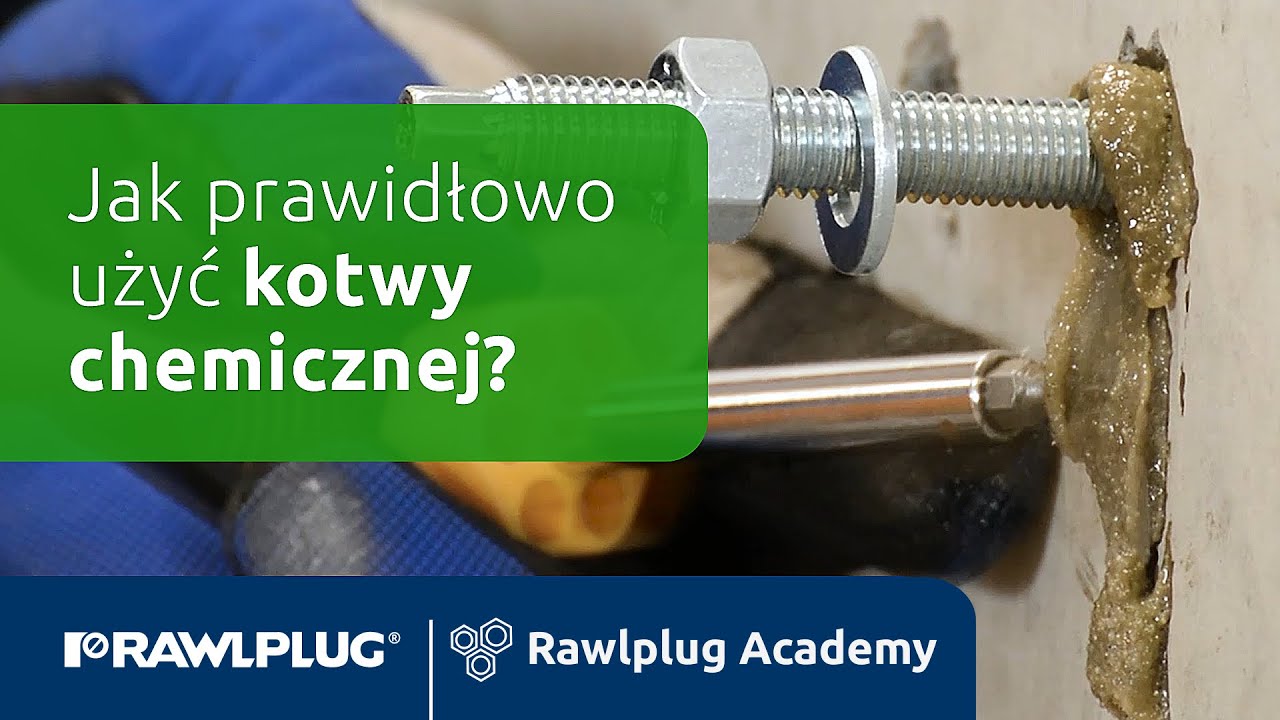
Prefer video? Take a look at this video insrtuction explaining how to use the bonding anchor:
As a reminder: chemical anchoring (or in other words, applying a bonded anchor) consists of five steps:
1. Drilling a hole for the bonded anchor
The choice of a drill bit and the drilling method engaged to develop the hole for a bonded anchor depends on the substrate type. Since bonded anchors can be applied in concrete as well as in masonry, you must always use the drilling technique recommended for the given base material. This is important because percussion drilling weakens the substrate and, if used incorrectly, can therefore reduce the load-bearing capacity of the bonded anchor. Percussion drilling in hollow materials is one of the most common mistakes made before chemical anchoring.
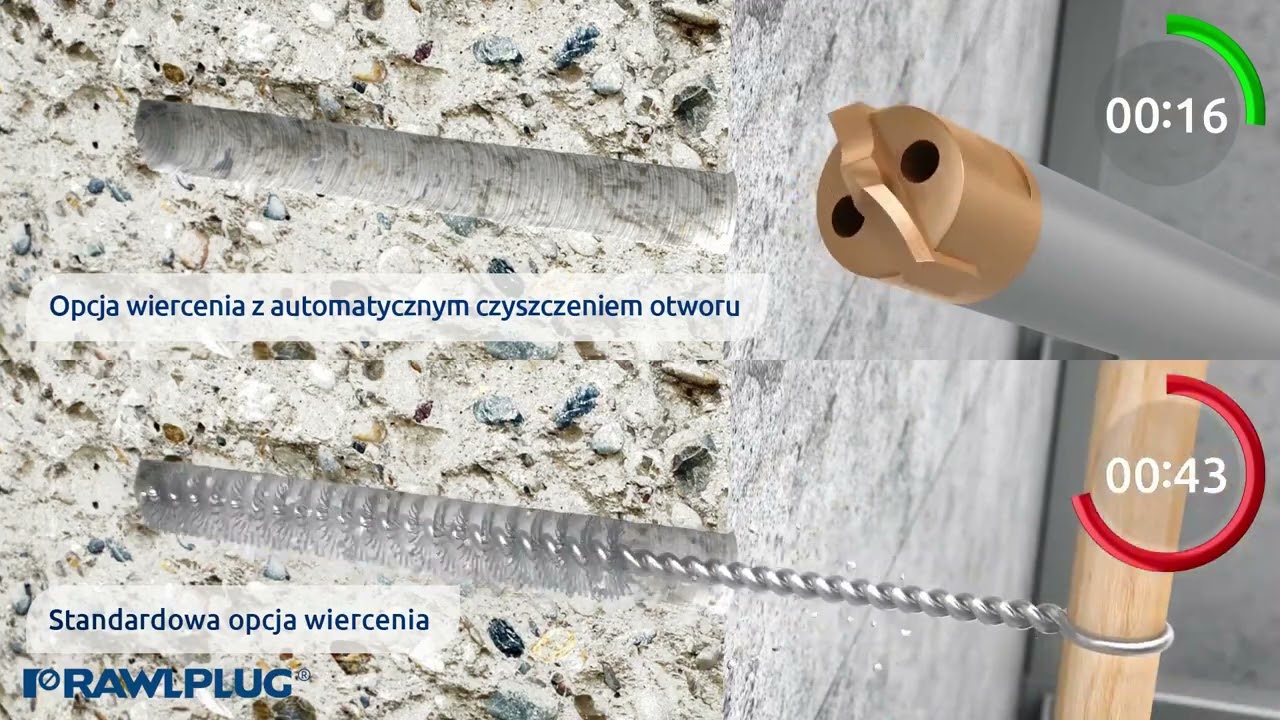
If you want to reduce the bonded anchor installation time, use the Dustlessdrill bit for automatic extraction of drillings. This kind of bit drills and cleans the hole at the same time, which allows you to skip the hole cleaning step completely.
The hole diameter and depth should match the recommendations of the bonded anchor manufacturer. You will always find the necessary information in this regard on the packaging. The drilling depth should be 1 cm larger than the anchorage depth. The hole diameter, and so the drill bit diameter as well, should always be larger than the diameter of the rod to be fixed. You will find detailed information on this matter further on in this guide.
2. Hole cleaning
Once drilled, the hole must be thoroughly cleaned to remove dust, dirt, and remaining drillings. Hole cleaning ensures improved resin binding and enables the anchor to retain its maximum load-bearing capacity. Remember that you can completely skip the cleaning step by using the Dustlessdrill bit.
The traditional hole cleaning method for purposes of chemical anchoring follows the 4x4x4x principle, which means blowing the hole through 4 times with a pump, using the brush 4 times, and using the pump 4 times again.
Instead of a hand pump, you can use compressed air, in which case you should apply the 2x2x2x principle (blow the hole through with air 2 times, use the brush 2 times, and repeat air blowing 2 times).
3. Introducing the bonding compound into the hole
Step three in the chemical anchoring process is the application of resin, and again, there are several important things you should keep in mind. Incorrect resin application will have a negative effect by reducing the anchor’s load-bearing capacity, making the fixing less durable. While dosing the resin, consider the following: the bonded anchor’s expiry date, correct choice of the dispenser gun, using a high-quality mixing nozzle, and correct hole filling.
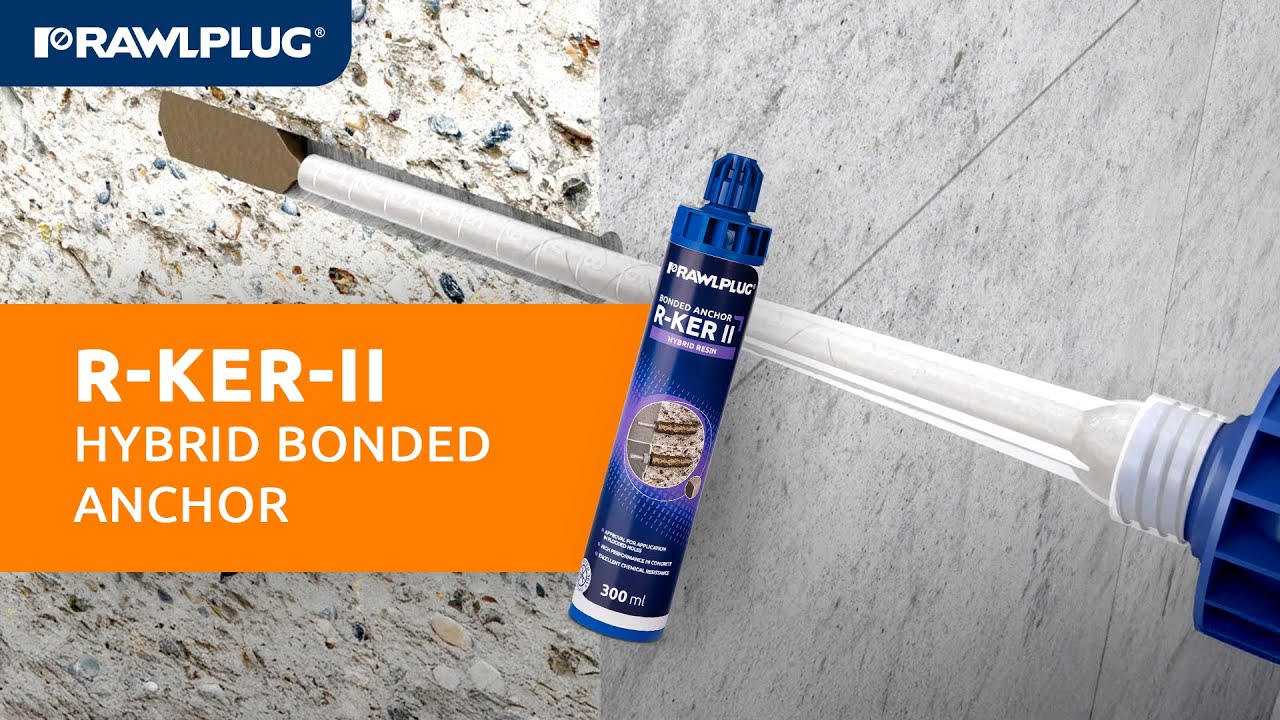
Rawlplug recommends the R-GUN-MULTI dispenser matching all cartridge sizes. Additionally, every resin pack comes with a nozzle featuring a high-quality mixer, which makes the application of Rawlplug’s bonded anchors significantly easier.
Using a bonded anchor in a cartridge, being the most common packaging format, simply place the cartridge in the gun and press down with the nozzle. The first 10–12 cm of the mixture which comes out of the nozzle should be discarded, as it has not been mixed thoroughly enough yet and does not offer the necessary load-bearing capacity. The ready-to-use resin should be uniform in colour and texture.
Start the resin application at the end of the hole. While squeezing out the mixture, gradually remove the applicator nozzle from the hole. For solid substrates, dispense resin up to 70% of the hole depth. When working in hollow substrates, where a mesh sleeve must be used, fill the hole with resin in 100%.
Fillling the hole in solid substrates
4. Rod installation
The rod is an integral part of the fixing developed using a bonded anchor. Immediately after filling the hole with resin, introduce the rod in a rotary motion. Leave the resin that flows out while the rod is being inserted and wait for it to set. You can easily remove it by chipping it off once it is completely dry.
Information about the resin setting time can be found on the packaging. The resin setting process depends on a number of factors, including the ambient temperature. The warmer, the shorter the bonded anchor setting time. It is also important to match the anchor type to the thermal conditions at hand. Rawlplug offers standard, summer, and winter resin versions.
Find out how to choose bonding anchor:

5. Applying load
Once the resin has completely hardened, install the fixing piece, thus applying the complete load on the bonded anchor.
Depth of holes for bonded anchors – drill bit selection
Unlike with mechanical anchors, where you drill a hole to the same diameter as the anchor size, when using bonded anchors, you must make sure that the hole is larger than the rod diameter. If you use a drill bit of the same size as the rod and then apply resin, there will be not enough free space in the hole to set the rod properly.
When sizing the drill bit for the rod diameter, follow these rules:
- If you are fixing metric rods up to 16 mm in diameter, the hole must be 2 mm larger.
- If you are fixing metric rods over 16 mm in diameter, the hole must be 4 mm larger.
- If you intend to fix an internally threaded socket (ITS) with a diameter of up to 12 mm, the hole must be 2 mm larger.
- If the internally threaded socket you intend to fix is more than 12 mm in diameter, the hole should be 4 mm larger.
Resin can also be used to install rebars.
Those with a diameter of up to 14 mm require a hole 4 mm larger.
Should you have any doubts as to the size of the hole to be prepared for chemical anchoring, you will also find all the necessary information on this subject in the relevant technical approvals.
Hole for bonded anchor vs substrate type
The last thing to consider when preparing the hole for a bonded anchor is the type of substrate in which you are to fix. If you intend to anchor in masonry materials, a mesh sleeve will be necessary. Applying resin directly into the hole would simply be unfeasible on account of the voids in the substrate. The sleeve makes it possible to centre the rod adequately, and ensures that the resin is evenly applied in the hole.
Remember! The mesh sleeve diameter should correspond to the hole (drill bit) diameter. However, the diameter of the rod to be installed in the sleeve must be smaller than the diameter of the chemical anchoring sleeve. Rawlplug’s recommendation is that the rod diameter should be 4 mm smaller than the mesh sleeve diameter.
Related articles
12 May 2025
#Bonded anchorR-KER II now ETA - approved for seismic category C2!
23 October 2024
How to install and join plasterboards efficiently?
26 September 2024
#Mechanical anchorNew steel throughbolt for non-cracked concrete R-XPTIII
10 September 2024
#AccessoriesSetting tools for mechanical anchors - faster installation in concrete